Your shop page
Products, and the three ways buyers order them
5 minute read
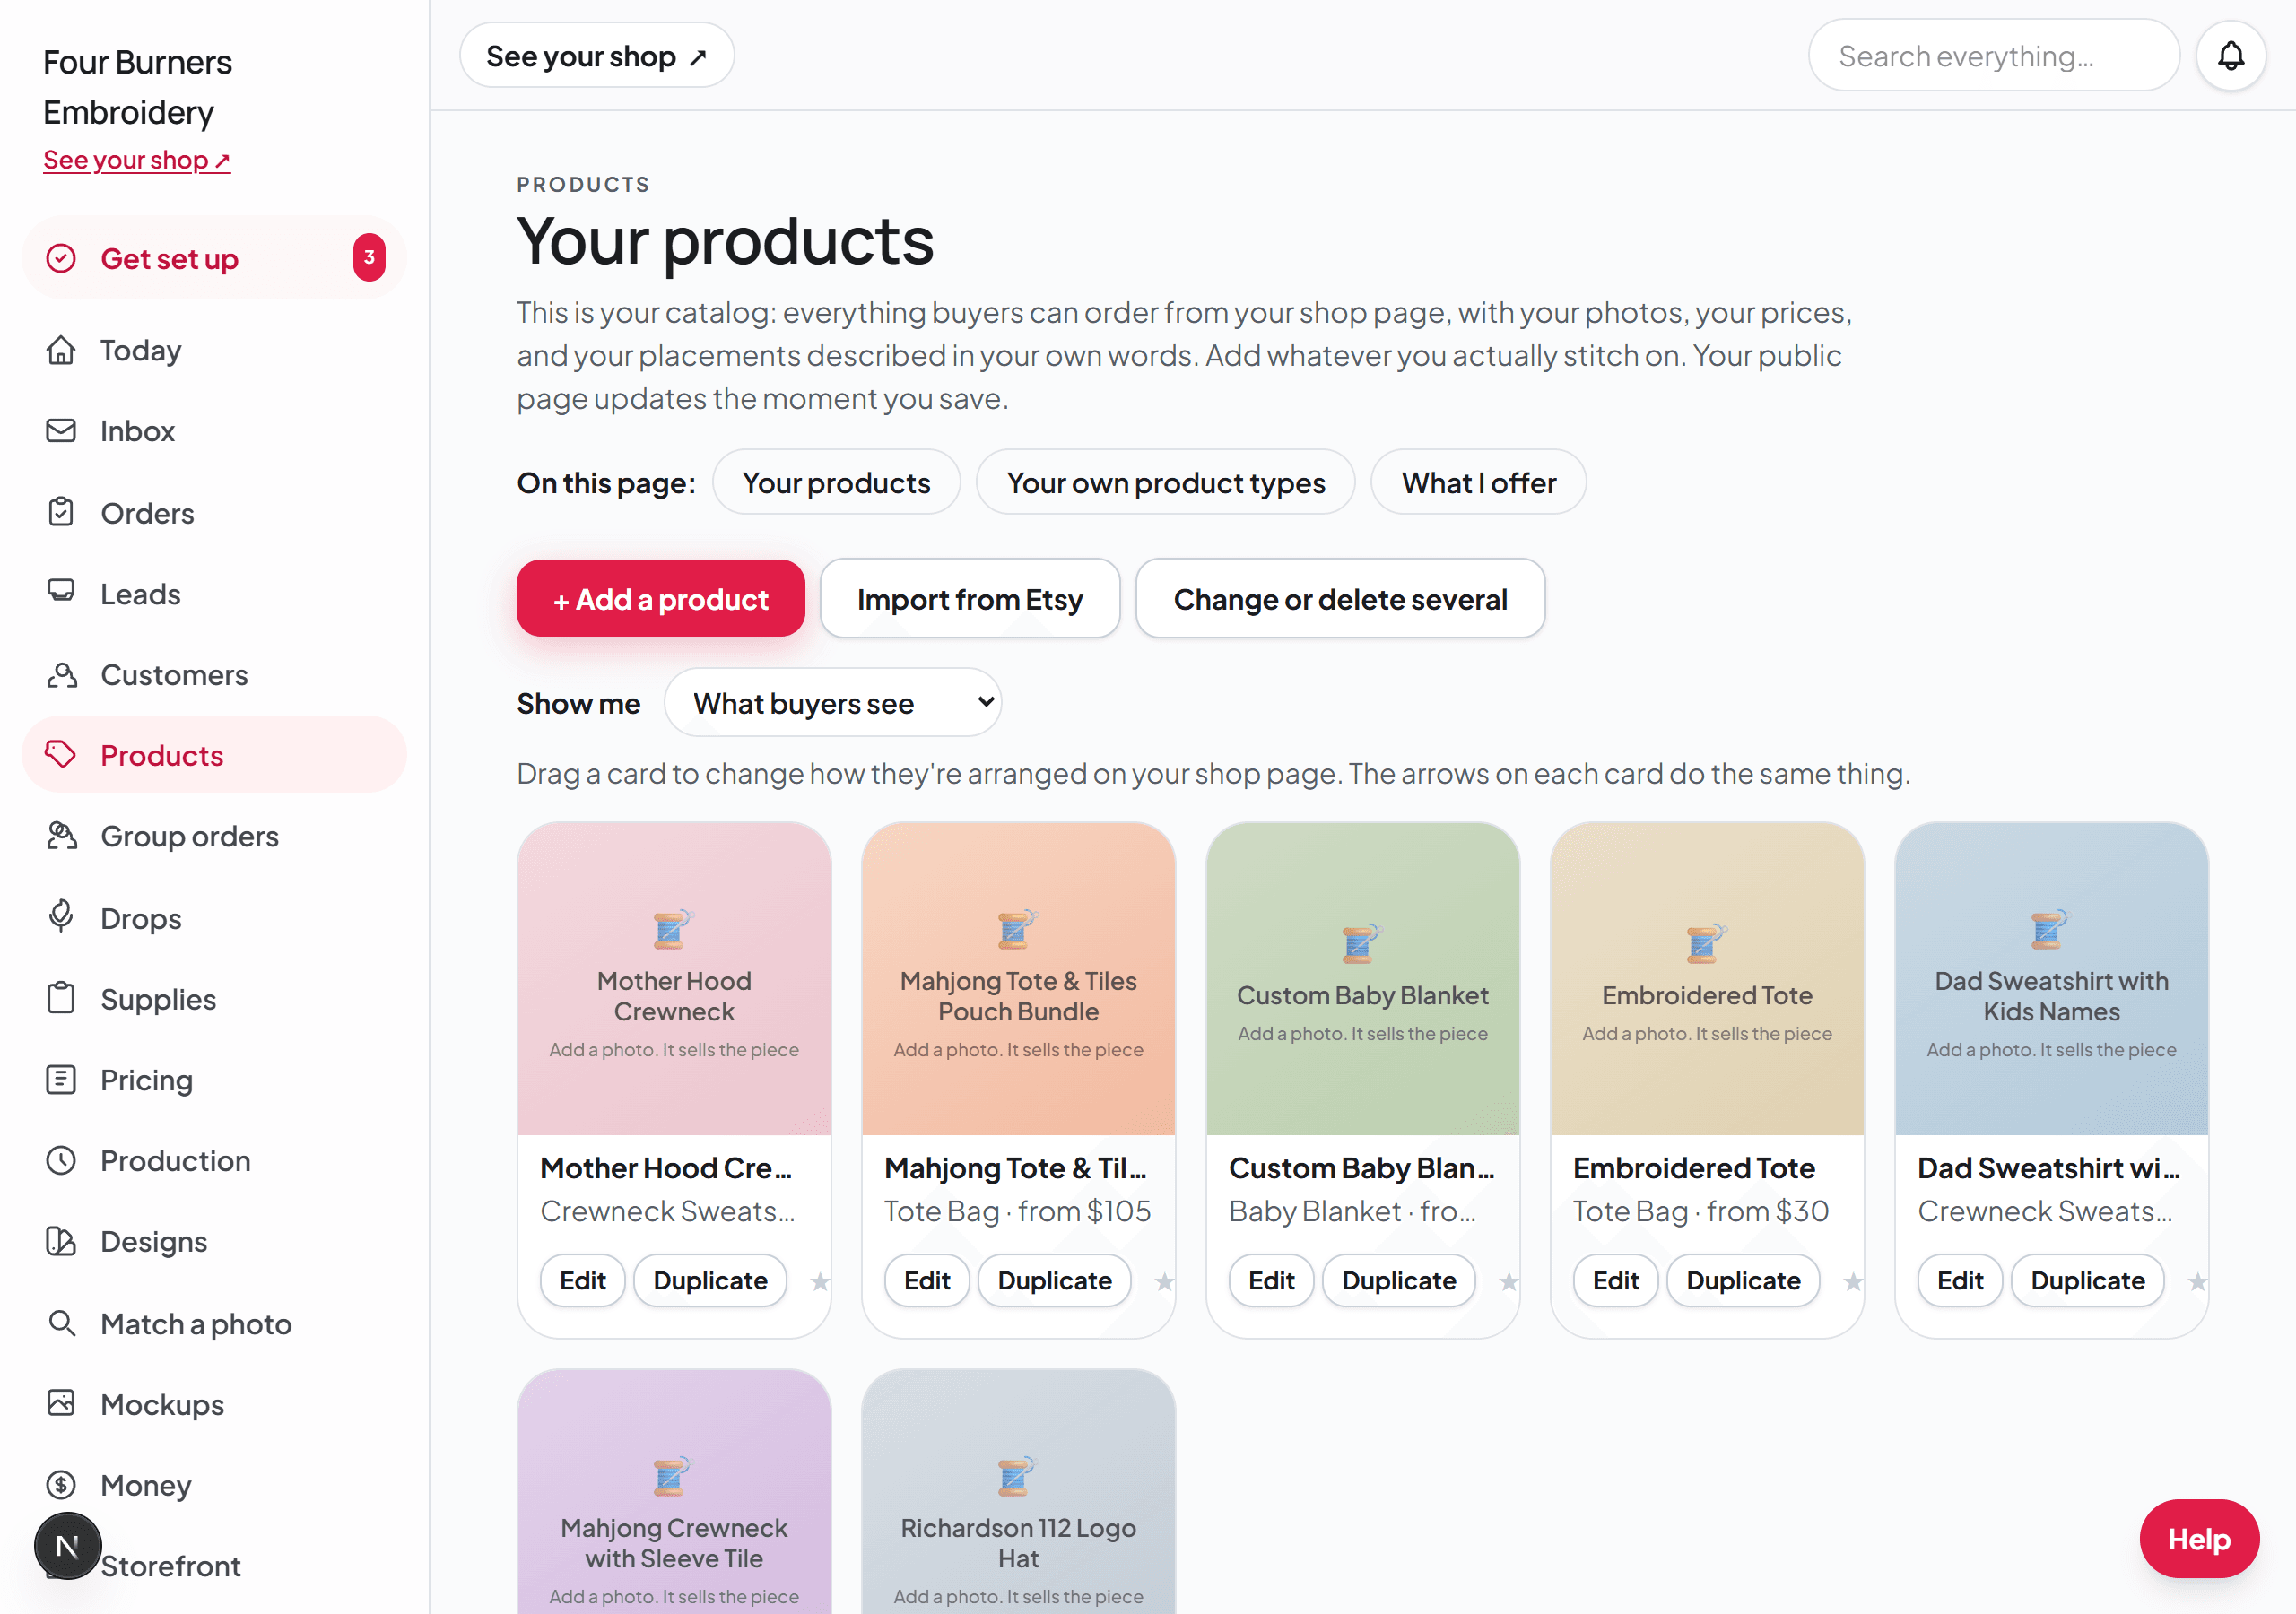
A product is one thing a buyer can order from your shop page: a name, a price, photos, and the choices you offer, like colors and sizes. You add and edit them on the Products page.
The setting that matters most is the one people skip. Every product is set to one of three ordering modes, and that mode decides what your buyer is asked when they order. Get it right and the order arrives complete. Get it wrong and you are back to messaging someone to find out what they actually wanted.
The three modes
"Buyers add names or words" is the normal custom-embroidery mode. The buyer types their wording, picks a font and a thread color if you offer those choices, and confirms the spelling before submitting. Use it for name sweatshirts, monogrammed totes, personalized anything.
"Buyers send a logo" is for business work. The buyer uploads their logo file instead of typing words, which is what a team, a salon, or a contractor ordering shirts actually needs. Their file arrives attached to the order.
"Buyers get it exactly as shown" is for a piece that is not personalized at all — a finished design you stitch the same way every time, or an item you have already made and want to sell. The buyer picks their size and color and orders it as photographed. Broidry changes the buyer-facing wording to match: the button reads Order this piece instead of Personalize yours, and the form stops asking for wording, fonts, and threads, because there is nothing for them to choose.
How this product is made
Not everything an embroidery shop sells is embroidered. If you also print, engrave, or do something else, say so on the product itself — the editor has a row called How this product is made, with embroidered, printed, engraved, and other. Every product you already have is set to embroidered, so nothing changes until you change it.
That one setting rewrites what the buyer reads. A printed piece never says "stitched" anywhere: not on the order form, not on the review step, not on the confirmation page, and not on the quote line, which says printed instead of embroidery. The "real embroidery, never printed" promise also comes off that listing on its own.
It changes the price too, because your rate card counts stitches and a print has none to count. A printed or engraved product charges the price you typed on it, plus any size or add-on charges you set, exactly the way a product sold as shown does — your rate card is never asked about it. On the owner side, a quote built from that product opens with Price this item myself already on, so you type what the job is worth instead of a stitch count.
The embroidery-only choices — appliqué, 3D puff, and thread color — only apply to embroidered products, so they stay put when you mark something printed.
Placements: where the stitching goes
Each product holds a list of placements — the spots on the garment you are willing to stitch, like the left chest, the full front, a sleeve, or the back of a hat. Each placement can either take whatever the buyer types, or hold a set design you always stitch there.
Placements are how you keep an order honest. If you only stitch the left chest on a particular polo, list only the left chest, and no buyer can order a full back you were not planning to make.
A placement can also carry its own price, and you choose what that price counts. Next to the extra charge there is a dropdown: once per garment, per name they add, per letter stitched, per word stitched, or per inch. Pick per name and a buyer who types three names is charged three times the extra — the number moves as they type, so a four-name tote and a one-name tote are not the same price by accident. Per inch reads the number the buyer types into that spot's box.
Choice lists: one question, your answers
Some products need one more answer that is not wording or placement: which dog breed, which school, which sport. A choice list is that question, written once with all its answers, and attached to any products that need it. The buyer picks from your list in the order form, the answer is required before they can submit, and it prints exactly as written on the order and the run sheet — so "Golden Retriever" arrives spelled the way you spell it, not the way a text message does.
The "somewhere else" option
Underneath the placements there is a checkbox called "Let buyers describe a spot I didn't list." Leave it on and a buyer who wants something in a spot you did not think of can describe it in their own words. Turn it off and they can only pick from your list.
There is a real trade-off here, so choose on purpose. Leaving it on catches orders you would otherwise lose, and it is where some of the best custom work comes from. Turning it off means every order that arrives is something you already know how to make and price. New shops usually leave it on; busy shops usually turn it off.
Before a product goes live
- 1Add at least one real photo. A product without a photo still works, but a buyer will not order a blank square.
- 2Set the ordering mode to match how you actually make this piece.
- 3List every placement you are willing to stitch, and no others.
- 4Decide whether to allow the "somewhere else" option on this product.
- 5Open your own shop page and order the product yourself, all the way through the form. You will find the missing question faster than any checklist will.